Do you want to output immediately after purchasing a 3D printer? Most people will output the sample data that came with the purchased 3D printer.
This time, let’s output sample data.
The current situation is to unpack the 3D printer and assume that the 3D printer that needs assembly is already assembled.
Specific steps
- Set the filament in the 3D printer
- Insert a micro SD card containing sample data
- Adjust the height of the stage
- Output
Unlike inkjet printers, 3D printers require you to adjust the height of the stage.
It is not necessary every time, but it is better to adjust every time.
Otherwise, printing can not be performed from the beginning, or the printed matter may peel off the stage and fail.
If you are having trouble with this adjustment, you may want to purchase a 3D printer with an automatic leveling function or an unnecessary 3D printer.
There are many 3D printers with auto leveling function.
There are not many 3D printers that do not require height adjustment.
The portable type introduced this time is an unusual 3D printer that does not require height adjustment.
This is because it has been adjusted at the time of shipment. However, it will shift slightly as you use it, so the day when adjustment is needed will come.
Therefore, strictly speaking, 3D printers always need height adjustment.
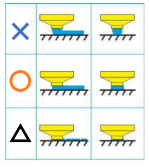
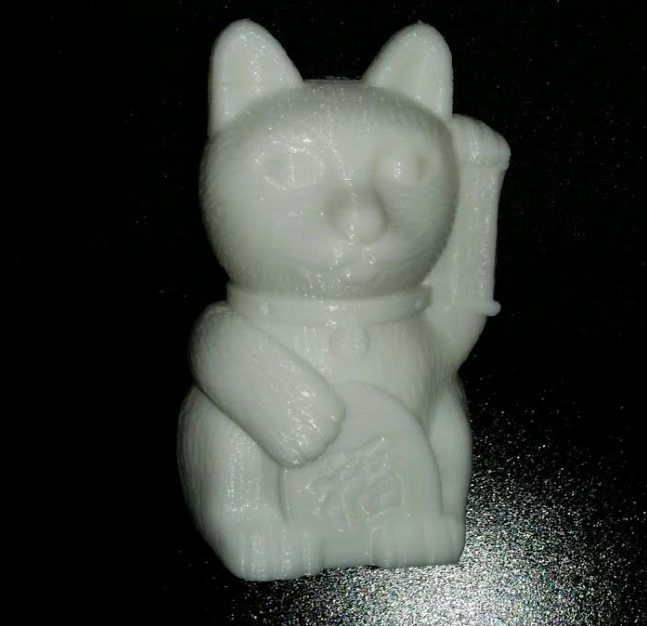
It is also included in the attached manual, but if the height of the nozzle and the stage is too far, the filament will not settle on the stage, and if it is too close, the filament will not come out of the nozzle.
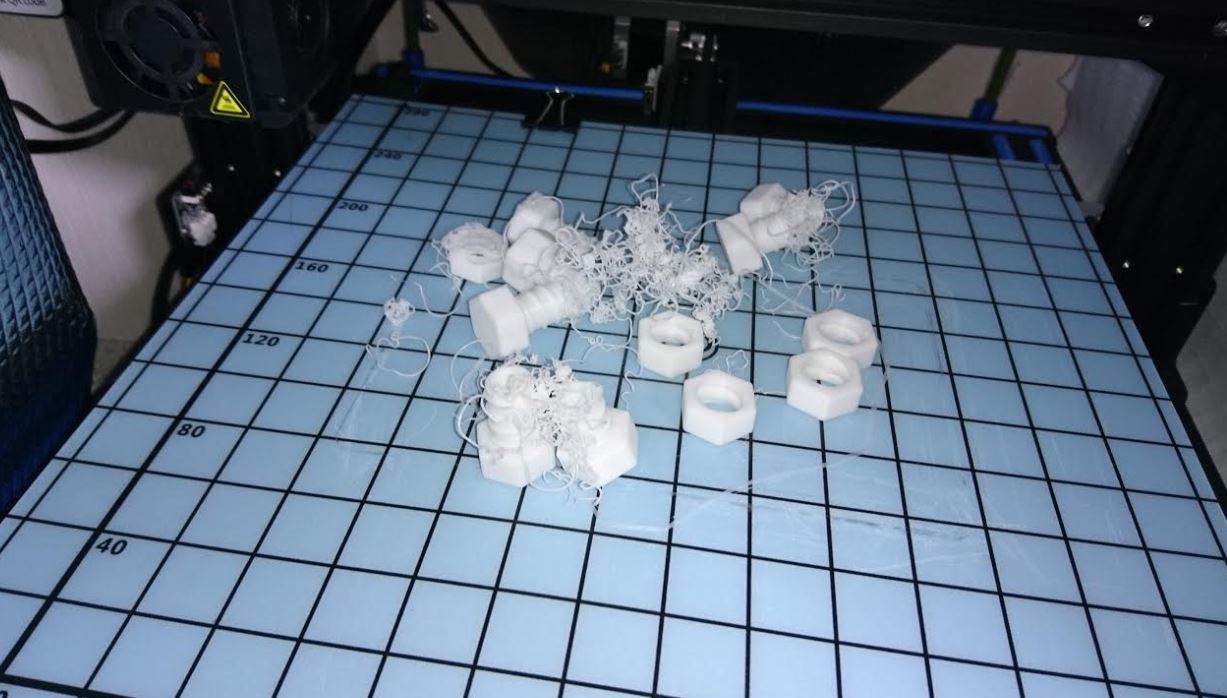
It will be like this if printing fails
1. Set the filament in the 3D printer
Most 3D printers come with a small amount of filaments for test output. It is a material commonly used in 3D printers called PLA (polylactic acid), and its output is hard to fail.
Here is the setting.
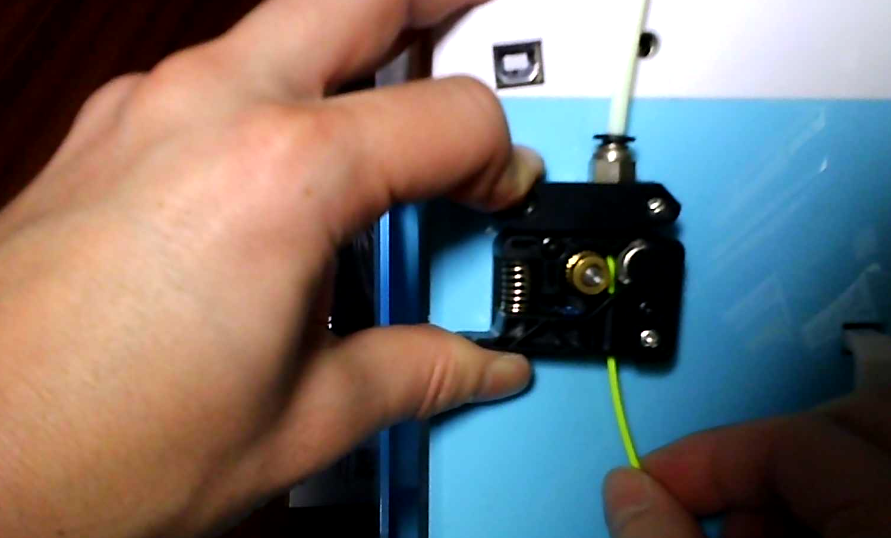
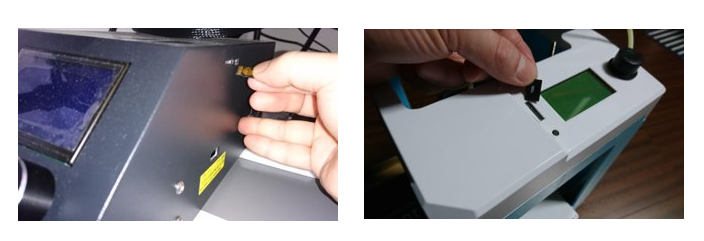
Press the lever of the extruder (black part in the photo above to push out the filament) to make a gap and push in the filament.
2. Insert a micro SD card containing sample data
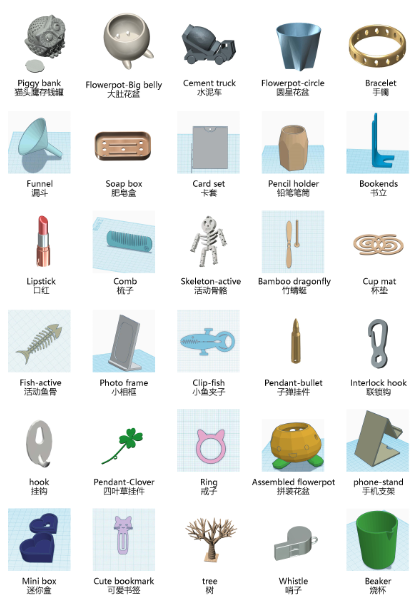
If you look at the included micro SD card, there are data of extension gcode. Those are the data for 3D printer output. The Portable 3D printer comes with a lot of sample data like the lower left, and the CR-10S is the lower right.
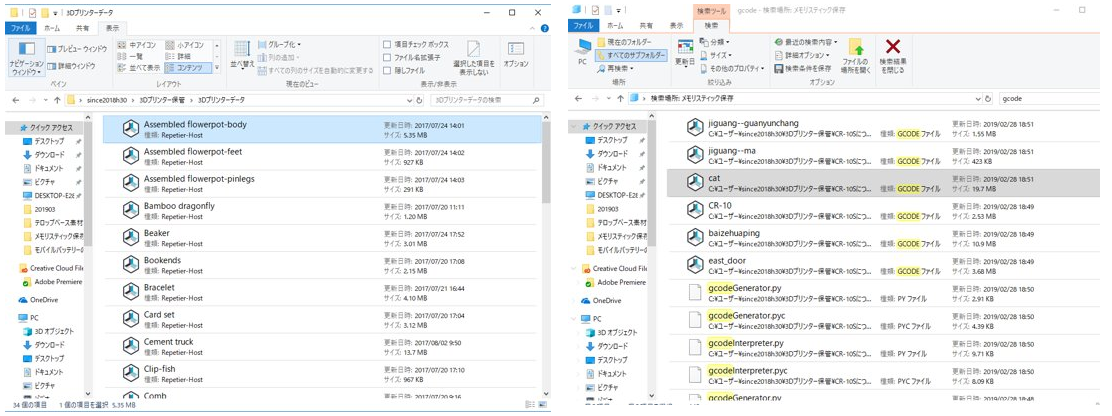
There was also a model preview jpeg. Data stored in the micro SD card of the Portable 3D printer. You can output these (of course you can print with the CR-10S)
It is difficult to insert because it is a micro SD card.
But I will introduce a good way next time.
3. Adjust the height of the stage
I will explain CR-10S because it is necessary.
Select Prepare in the control box and select Bed Auto Leveling (not Auto at all).

Each time you press Next Step, the stage moves in four corners and five points in the center.
In each case, pinch the A4 paper between the stage and the nozzle, and adjust by turning the knob below the stage.
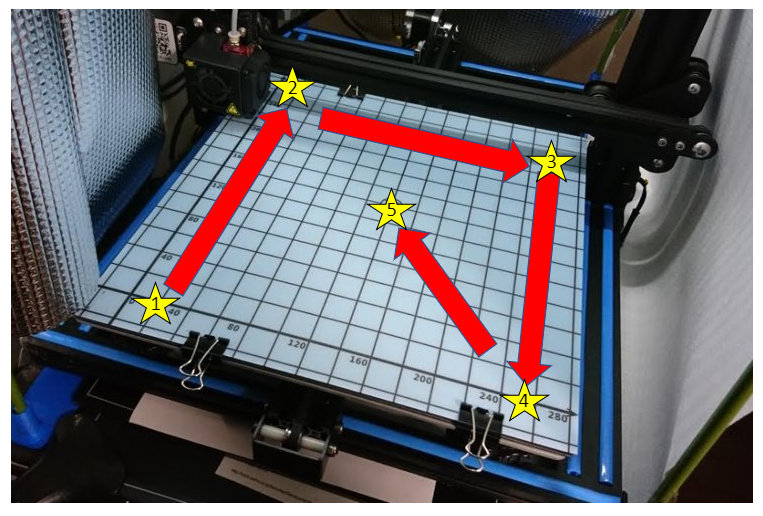

Stage adjustment should be 2-3 rounds
4. Output
Most 3D printers can be printed by selecting the data you want to output on the LCD screen.
Comments